This post is also available in: Español (Spanish)
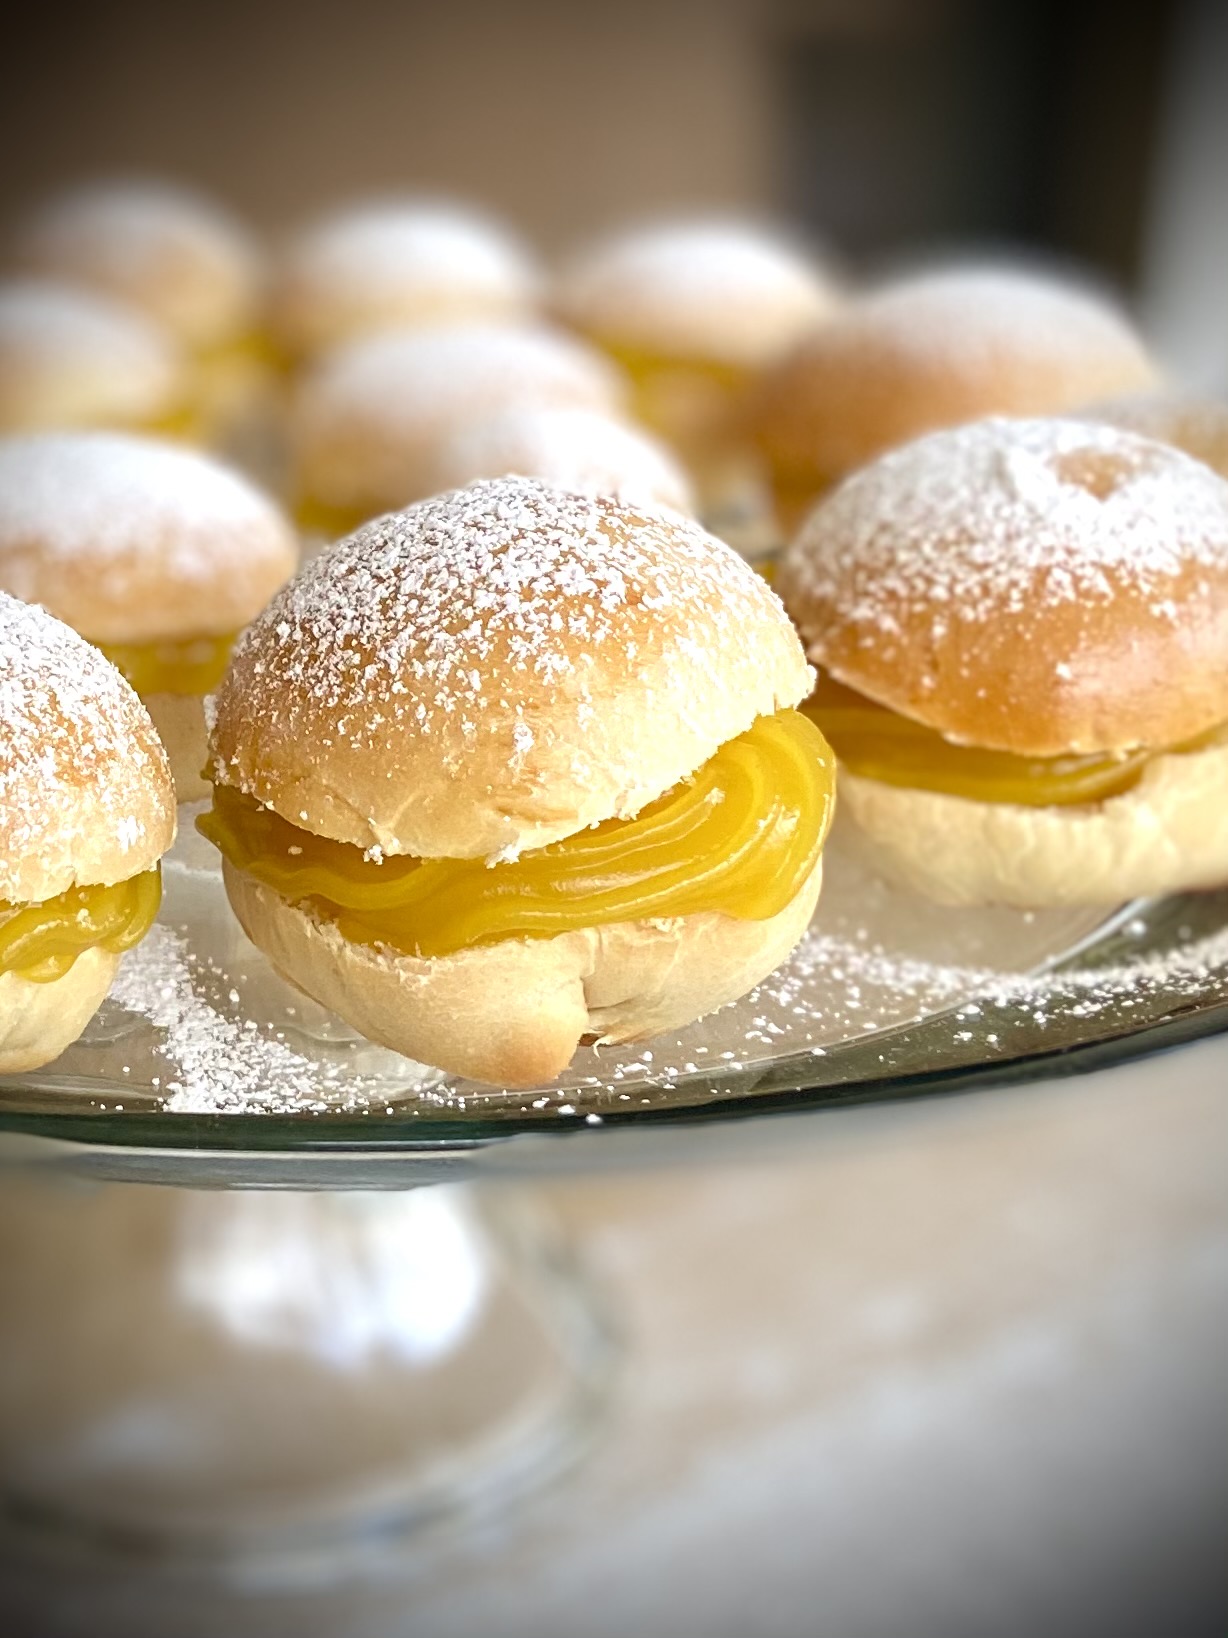
Today, it is my great pleasure to introduce you to the “Carmelitas from Jerez de la Frontera”, the city where I grew up in Spain. The Carmelitas were invented around 1928 in Jerez’s most famous pastry shop, “La Rosa de Oro”. Together with the “Tocino de Cielo”, “La Carmela” is one of the most iconic delicacies from Jerez. When you take a bite, the tender, and fluffy bread along with the sweet, and creamy custard-like texture of the filling melt together in your mouth to create something amazing.Simply take a bite of a Carmelita when you are having a bad day, and you likely forget about it, and realize that life is not so bad after all. I also would like to share with you that the Carmelita’s original shape, is not like the rounded shape featured in the pictures. The Carmelita’s original shape are sort of like the Twinkies sold in the USA, but I tend to make then smaller….and I don’t think I need to explain the reasons why;-)
If you end up making Carmelitas, I would love to see your creations. Just tag me in your pictures in any of the below social media platforms:
Facebook:www.facebook.com/papeobypepi
Instagram: #papeobyPepi
Pinterest: PapeobyPepi
Carmelitas from Jerez
This recipe could very well be done by hand, with your stand mixer, or whichever cooking tool you prefer. For most of my desserts, I always use Thermomix , and throughout this recipe, I will be providing Thermomix directions as well.
You should start by first making the Carmelita's filling as it needs to be completely chilled before using.
Prepare your piping bag, if you are using a disposable one, snip off the tip of the piping bag, and wiggle you preferred tip into place.
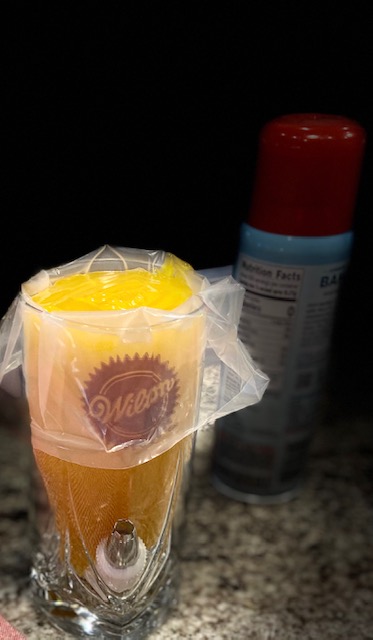
To fill the bag, I usually drop the piping bag into a tall drinking glass (look at the picture), and fold the opening of the bag down around the glass so half of the bag is inside out. Once we finish making the filling, with a spatula, transfer the filling into the piping bag.
***To make the filling: TRADITIONAL METHOD:
In a medium size bowl, and with an electric blender, mix all filling ingredients well. Add the mixture to a medium size saucepan, on a medium heat, and don't stop whisking until you get a thick creamy filling. Transfer the filling to the piping bag, and let it chill at room temperature for a few minutes, and refrigerate until completely cool.
**********************************************
***To make the filling with THERMOMIX:
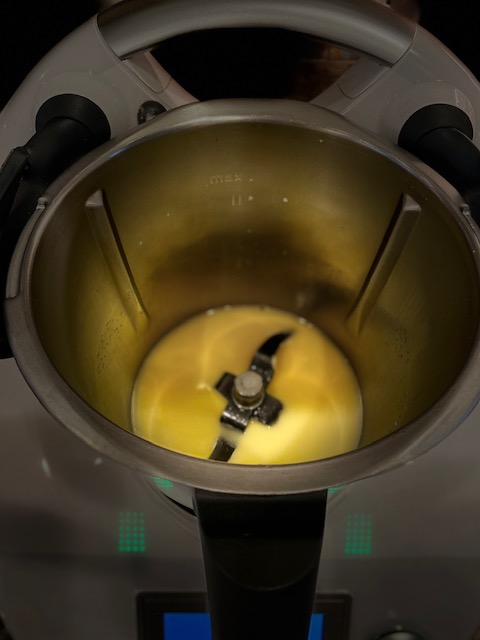
Add all the ingredients to the Thermomix bowl, and program:
THERMOMIX: Time: 9 Minutes/Temperature: 100/ Speed:4
Transfer the filling to the piping bag, and let it chill at room temperature for a few minutes, and refrigerate until completely cool.
***To form the dough: TRADITIONAL METHOD:
In a small drinking glass, hit in the microwave a little bit of the milk, and mix it well with the yeast. (If you are using instant yeast, you don't need to activate it)
Add the rest of the milk, butter, sugar, and yeast mixture to the stand mixer bowl, and mix it all well.
Add the four, and increase the speed until a dough ball forms. Set the dough aside for 15 minutes.
***********************************************
***To form the dough: THERMOMIX METHOD:
In a small drinking glass, hit in the microwave a little bit of the milk, and mix it well with the yeast. (If you are using instant yeast, you don't need to activate it)
Add to the Thermomix bowl the rest of the milk, the butter, and the sugar.
**THERMOMIX: Time: 3 Minutes/Temperature:40/Speed:2
Add the Yeast mixture
**THERMOMIX: Time 8 Seconds/Speed 4
Add the flour and the Salt
**THERMOMIX: Time:20 Seconds/Speed:5; And then, program again:
**THERMOMIX: Time: 4 Minutes/Kneading Function
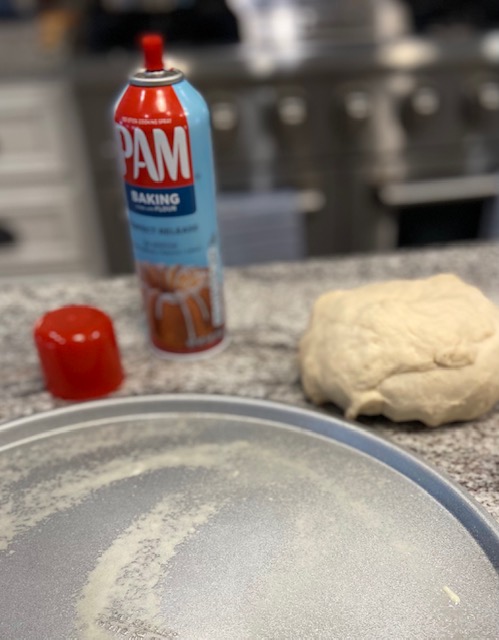
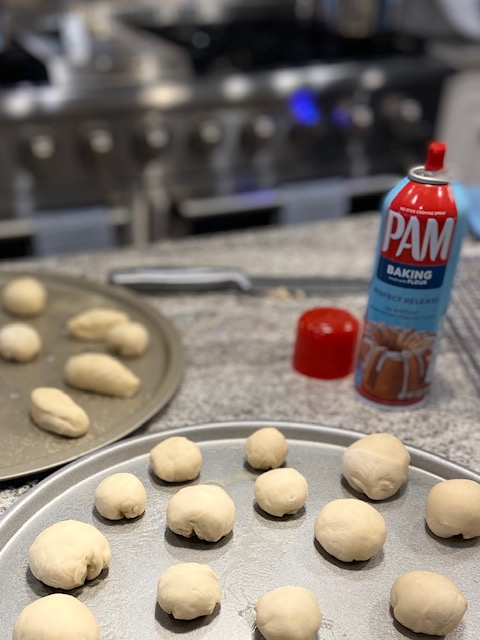
Divide the dough into several equal size balls (as you can tell by looking at the pictures, I didn't divide them into equal size balls-I had an appointment, and I was rushing. Therefore, this step is entirely up to you)
Using a circular motion with the palm of your hand, gently roll the dough on a floured surface to create a ball shape. Repeat this step with the rest of the dough.
Place the balls in a tray, and let them rise until double its size.
Preheat the oven at 350 Fahrenheit or 180 Degrees Celsius
Coat a baking sheet with vegetable oil
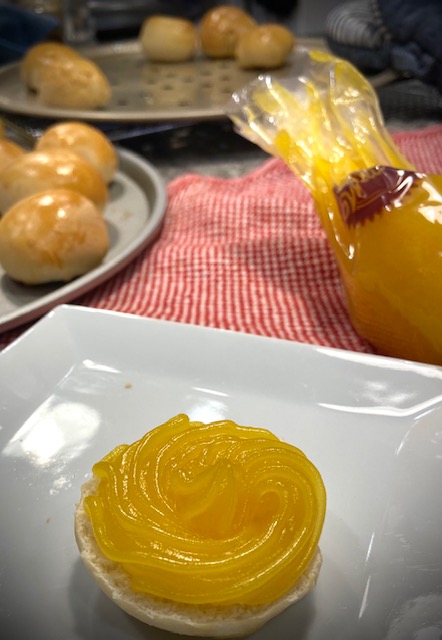
With a pastry brush, coat the balls with beaten egg, and place them in the baking sheet.
Bake for 15 minutes (Important: baking times vary with the size of the balls) TIP: They have to reach a light golden brown color.
Let them cool completely.
Once they are ready, carefully slice the Carmelitas, and fill them with the previously prepared cream until your heart is content.
Ingredients
Directions
This recipe could very well be done by hand, with your stand mixer, or whichever cooking tool you prefer. For most of my desserts, I always use Thermomix , and throughout this recipe, I will be providing Thermomix directions as well.
You should start by first making the Carmelita's filling as it needs to be completely chilled before using.
Prepare your piping bag, if you are using a disposable one, snip off the tip of the piping bag, and wiggle you preferred tip into place.
To fill the bag, I usually drop the piping bag into a tall drinking glass (look at the picture), and fold the opening of the bag down around the glass so half of the bag is inside out. Once we finish making the filling, with a spatula, transfer the filling into the piping bag.
***To make the filling: TRADITIONAL METHOD:
In a medium size bowl, and with an electric blender, mix all filling ingredients well. Add the mixture to a medium size saucepan, on a medium heat, and don't stop whisking until you get a thick creamy filling. Transfer the filling to the piping bag, and let it chill at room temperature for a few minutes, and refrigerate until completely cool.
**********************************************
***To make the filling with THERMOMIX:
Add all the ingredients to the Thermomix bowl, and program:
THERMOMIX: Time: 9 Minutes/Temperature: 100/ Speed:4
Transfer the filling to the piping bag, and let it chill at room temperature for a few minutes, and refrigerate until completely cool.
***To form the dough: TRADITIONAL METHOD:
In a small drinking glass, hit in the microwave a little bit of the milk, and mix it well with the yeast. (If you are using instant yeast, you don't need to activate it)
Add the rest of the milk, butter, sugar, and yeast mixture to the stand mixer bowl, and mix it all well.
Add the four, and increase the speed until a dough ball forms. Set the dough aside for 15 minutes.
***********************************************
***To form the dough: THERMOMIX METHOD:
In a small drinking glass, hit in the microwave a little bit of the milk, and mix it well with the yeast. (If you are using instant yeast, you don't need to activate it)
Add to the Thermomix bowl the rest of the milk, the butter, and the sugar.
**THERMOMIX: Time: 3 Minutes/Temperature:40/Speed:2
Add the Yeast mixture
**THERMOMIX: Time 8 Seconds/Speed 4
Add the flour and the Salt
**THERMOMIX: Time:20 Seconds/Speed:5; And then, program again:
**THERMOMIX: Time: 4 Minutes/Kneading Function
Divide the dough into several equal size balls (as you can tell by looking at the pictures, I didn't divide them into equal size balls-I had an appointment, and I was rushing. Therefore, this step is entirely up to you)
Using a circular motion with the palm of your hand, gently roll the dough on a floured surface to create a ball shape. Repeat this step with the rest of the dough.
Place the balls in a tray, and let them rise until double its size.
Preheat the oven at 350 Fahrenheit or 180 Degrees Celsius
Coat a baking sheet with vegetable oil
With a pastry brush, coat the balls with beaten egg, and place them in the baking sheet.
Bake for 15 minutes (Important: baking times vary with the size of the balls) TIP: They have to reach a light golden brown color.
Let them cool completely.
Once they are ready, carefully slice the Carmelitas, and fill them with the previously prepared cream until your heart is content.

